Thanks to Cathy for setting up this blog! I love cooking and look forward to learning the secrets of our great family cooks. In our house, we tend to do simple recipes over and over again. We eat a LOT of bread, and although I enjoy crispy, European-style artisan bread, I don't enjoy paying artisan prices.
A few years ago, the New York Times ran a very popular recipe for no-knead bread that simplified the bread baking process. Soon afterward, a book called Artisan Bread in Five Minutes a Day was published. This recipe I am going to share is based off the basic light whole wheat recipe in that wonderful book. If you love crisp-crusted, European style bread with a bit of nutritious whole wheat blended in, and would like to make this during the week, then here's the recipe for you. This recipe will make at least two loaves of bread (maybe 3 or 4, depending on how big you make your loaves). It's very easy, and very cheap (about 75 cents a loaf, by my estimation), but it does require some planning ahead, so maybe start it on a day you'll be at home anyway.
Here's all you need:
3 cups lukewarm water (preferably filtered, but if you think your tap water tastes great, go ahead and use that)
2 packets OR 1.5 Tablespoons active dry yeast
1 Tablespoon salt (or to taste)
4.5 cups unbleached white flour
2 cups whole wheat (or white whole wheat) flour
A little coarse-ground cornmeal for the baking pan/stone
You will need a 5 liter/1.5 gallon container with a lid, in which you can store your bread dough. A baking stone is nice for making a crispy crust on bottom, but you can also use a cast iron pan or a plain ol' baking sheet.

First of all, you are going to mix the ingredients straight in the storage container. Place the yeast and salt in the container, and then pour in the lukewarm water. You want it to be a little warm, like a bath you might run for a small child, but not scalding hot, because that might kill the yeast.

Looks delicious, right?
Now, in traditional bread recipes, you would have to let the yeast sit a while, but not in this one! Go ahead and start adding the flour. It's helpful to use a measuring scoop, rather than pouring the flour into a measuring cup, because that ensures you are not loading too much flour, which would result in denser bread. You can also play around with the ratio of white to wheat flour, if you like a more or less dense, earthy, wheaty bread.

Next you are going to really put in some elbow grease and mix, mix, mix until the flour is totally blended with the water. The dough is going to be very tough to stir, and very sticky. If you've made bread another way, you will probably think something is wrong with it. But it's perfectly fine! You want it to be sticky. I use a sturdy wire whisk to do this, but you could even use your hands to make sure it gets really well blended.

When it's all blended together, it will be very sticky, as mentioned, and look like this:

Next, you are going to put the container lid on *loosely* (so the yeast can still breathe, but to protect it from drafts) and leave the container in a warmish place on the counter for a couple of hours, during which time the dough should rise quite a bit. Here's where we are now:

And here's where we are after a couple of hours:

So at this point, you can either stick the container in the fridge and bake bread at another time, or we can get down to business and make a loaf!
If you are ready to make a loaf, first you want to prepare your bread board (or pizza peel, if you're lucky enough to have one of those). Take a generous handful of cornmeal and swirl it around in a circle on your board where you will place your loaf:

To make your loaf, first you want to sprinkle some flour on top of the dough in the container, because you're going to stick your hand right down in there and just grab a hunk of dough, and (have I mentioned this already?) it's gonna be sticky!


Go live your life for about 20 minutes, then put your baking stone or cast iron pan (if using) into the oven and turn it on to 450 degrees. Wait another 20 minutes, and then your bread should be ready to go! Place a couple of slashes with a serrated knife in the top of your loaf (you could get really artsy-fartsy with this, but I just do an x) and then carefully slide it into the oven!

Sometimes - no, often - I find the loaf does not want to "slide" right off onto the baking stone, so I carefully pick it up and sort of heave it into the oven. Haven't burned myself yet...
Depending on whether you made your loaf bigger or smaller than softball size, and depending on whether your oven runs hot or not, you'll want to bake it for about 35-40 minutes. I usually bake it for about 40 minutes. Your crust should be nice and crispy and golden, and the inside ought to have a nice, dry, even airy crumb - if it is moist or beery smelling at all, you'll need to bake it longer next time.
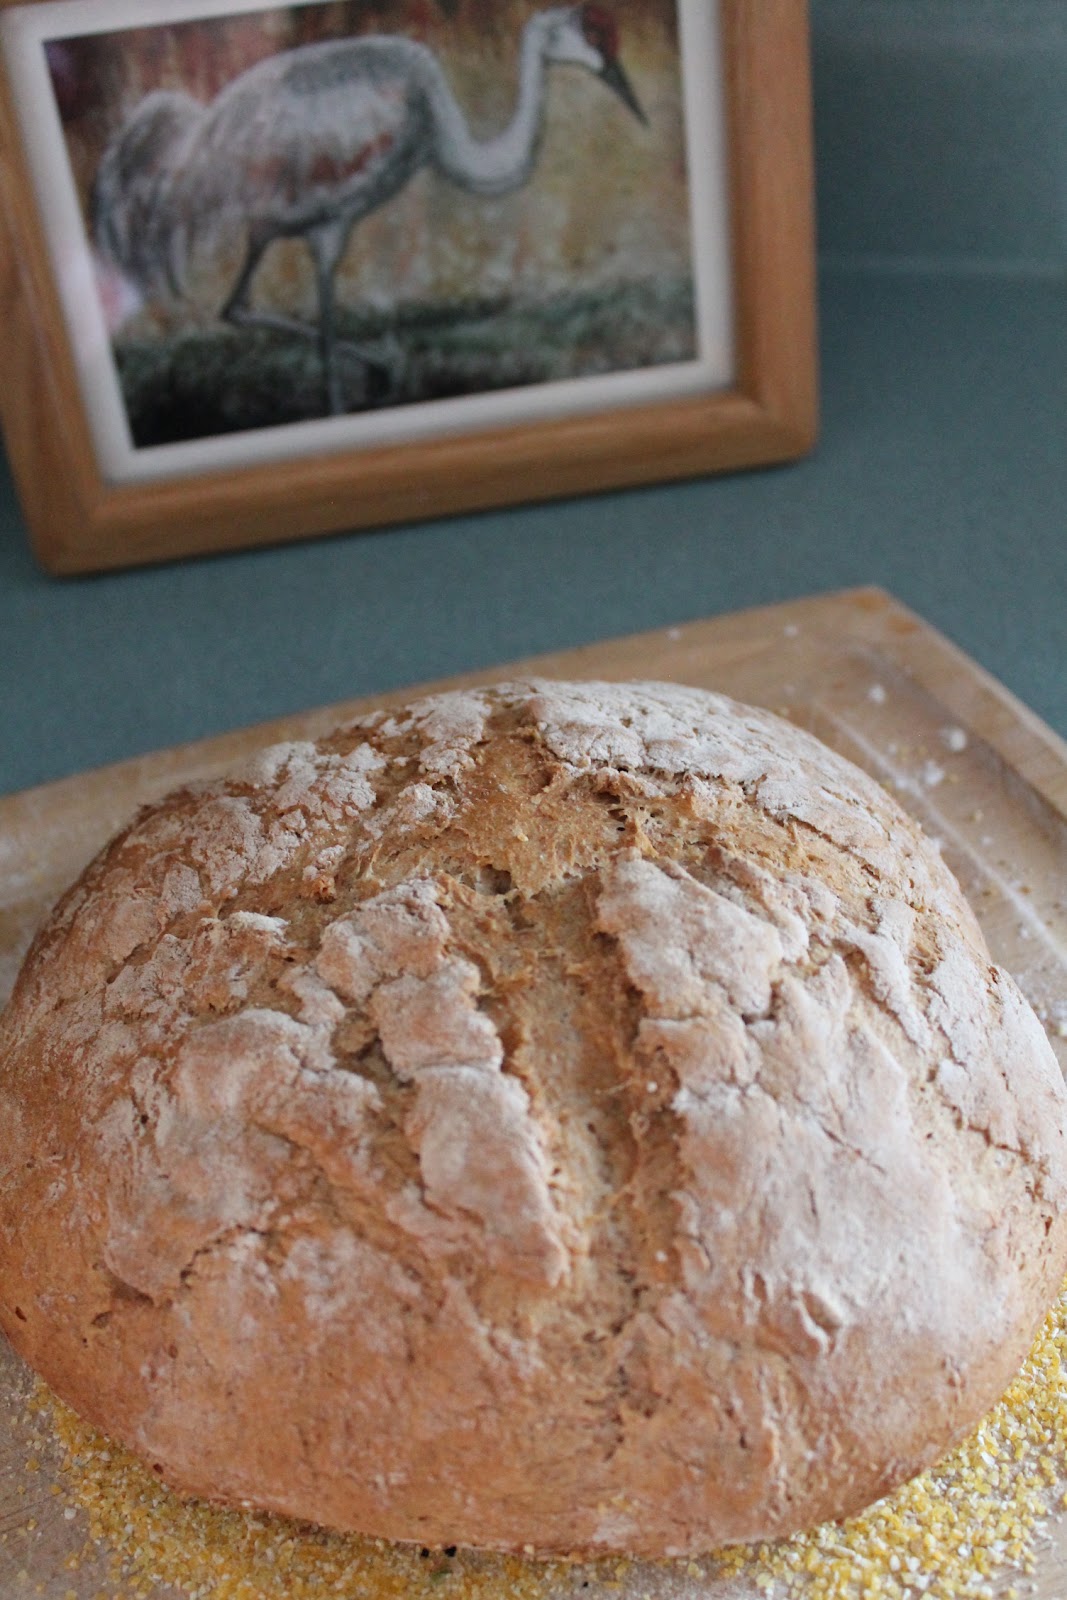
Et voila! Looks fancy, doesn't it? And as you can see, it is so easy. We make this bread every other day. (Since it does not have any preservatives, you'll want to eat it within 2 or 3 days... we've never had a problem with this.) You can adapt this basic recipe to suit your needs, add yummy extras like rosemary or basil or seeds, etc, etc... you get the idea. There's nothing like the smell of fresh bread in the house. And is it tasty?


